Hiiii! it's been a while! My time has been consumed making ceramic beads. To be honest it’s the most work intensive part of the process, but also my favorite part. I thought it would be fun to give you a little rundown of the process of making our beautiful ceramic beads.
Ceramic beads can be made from various types of clay, including earthenware, stoneware, and porcelain. Here are the basic steps involved in making ceramic beads:
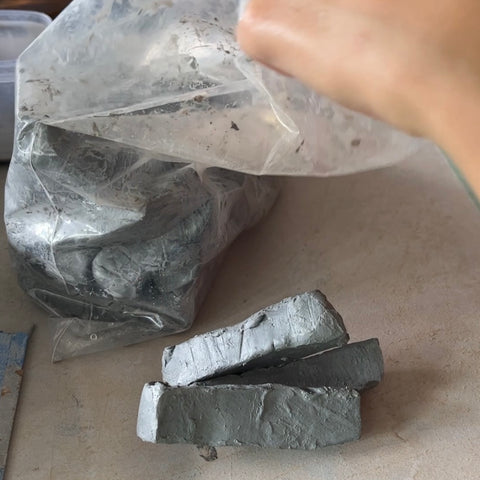
Prepare the clay: Begin by kneading and conditioning the clay to remove any air bubbles and make it easier to work with. Roll the clay into a ball or a slab, depending on the shape of the beads you want to create.

Shape the beads: Use a bead roller, a mold, or your hands to shape the clay into beads. If you are using a bead roller or mold, press the clay into the mold and smooth out any imperfections with your fingers. If you are using your hands, roll the clay into a ball and use your thumb to create a hole in the center.

Dry the beads: Once you have shaped the beads, set them aside to dry. You can place them on a drying rack or a piece of paper to prevent them from sticking to any surfaces. Depending on the size and thickness of the beads, they may take anywhere from a few hours to a few days to dry completely

Fire the beads: Once the beads are dry, they need to be fired in a kiln. This process involves heating the beads to a high temperature, which causes the clay to harden and become more durable. The firing temperature and duration depend on the type of clay you are using and the size of the beads.

Glaze the beads: If you want to add color or shine to your beads, you can glaze them. Glaze is a type of liquid coating that is applied to the beads before they are fired. this is the most time-consuming part of the process.

Second Fire: Once the beads have been glazed, they are fired for a second time to set the glaze. This time, the firing process is a little more tricky. Glaze can be thought of as a glass coating that fuses to the ceramic surface during firing, meaning it will "stick or fuse" to whatever it touches. To avoid this, the beads are carefully placed on a wavy heat resistant wire so that they can remain suspended and won't touch each other.

Assemble the jewelry: Once the beads are finished, you can string them together to create a necklace, bracelet, or other jewelry item.

Making ceramic beads allows me to create unique, one-of-a-kind jewelry pieces. With a little practice and patience, you can create beautiful ceramic beads that will last for years to come.


Comments (0)
There are no comments for this article. Be the first one to leave a message!